
Last Updated on February 22, 2024 by Grant
We arrived in Yosemite National Park eager to see all that we could. Hiking around Yosemite Valley is a must, as that is the best way to see some of the best features of the park. Granted, it is a very small portion of the park, but there is a lot of WOW concentrated in the valley. Rather than doing several small trails, we opted to “go big” and did the Yosemite Valley Loop… One big trail that passes most of the natural and historical highlights of the valley.
The Yosemite Valley Loop is really just a combination of several smaller trails. It encompasses the entire valley, from El Capitan at the west end to Mirror Lake at the east end. According to the hiking guide, it is 13 miles round-trip and should take about 5-7 hours. We knew that would test us a bit, but the trail is relatively level (it is through a valley, after all), so we figured we could handle it.
(Disclaimer: When we link to places where you can buy our stuff or places we stayed, we are using special codes that earn us commissions on the sales at no additional cost to you. Please see our Review Policy for more information.)
Getting Ready for the Hike
When first entering a National Park, we like to check in at the Visitor Center – it just seems like the right thing to do. We actually arrived at the Yosemite Valley Visitor Center before they opened, so we took advantage of the cell service. If you’re a blogger, checking e-mail and updating social media regularly is a requirement.
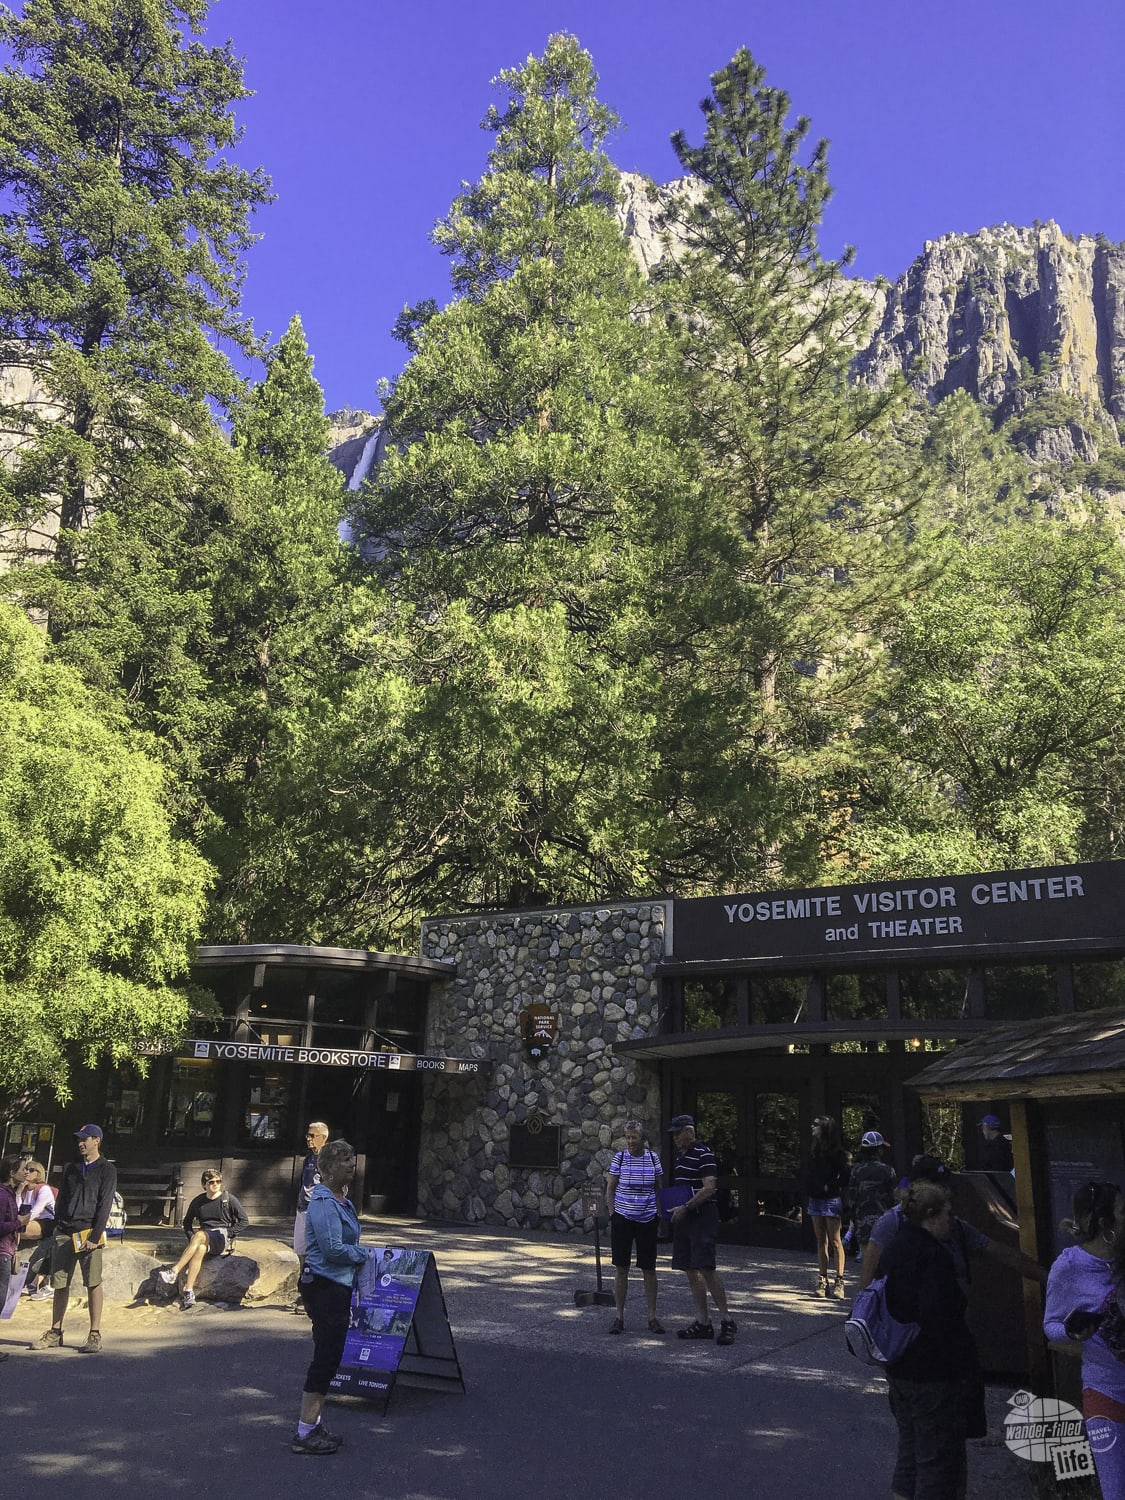
Once the visitor center opened, there was a pretty long line. We weren’t in a huge hurry, so we just got in line where we could. But then the line moved reallllly slowly. I finally ended up getting a trail map from the Yosemite Conservancy folks and talked to them about the hike.
They said the Yosemite Valley Loop Trail was a good hike and that we’d see different stuff on the east end vs. the west end. We were warned that the tail might be flooded in a couple of places, but that we could get around it without too much difficulty.
So, we went back to the truck to get our gear ready – full Camelbaks with three liters of water each, sandwiches and chips for lunch and a couple of extra snacks. Grant had three camera lenses and all the other camera gear he could possibly need. Time to take off!
Check out our 10 essentials for hiking here.
Yosemite Falls
I suppose since this is a loop of the valley, you really could start anywhere along the valley circumference. We followed the advice of one of the brochures and started at Yosemite Falls. Of course, we had to get there from the truck first, which was probably close to half a mile. We could have taken a shuttle, but it seems silly to take a shuttle half a mile when you’re about to do a 13-mile hike!
The hike to the bottom of Lower Yosemite Falls is a must for anyone visiting the park. It is a very short and easy walk from the road and is all paved. Yosemite Falls is fueled by snowmelt, so it’s strength varies throughout the year. This year, the Sierra Mountains got twice the average snowfall, so all the waterfalls are booming, especially Yosemite Falls!

The mist was everywhere. It was almost ice-cold and the force of the fall was blowing water everywhere right at the bottom. We fought off all the other folks for our pictures, did our best to keep our phones and cameras dry and then continued on to the next part of our journey.
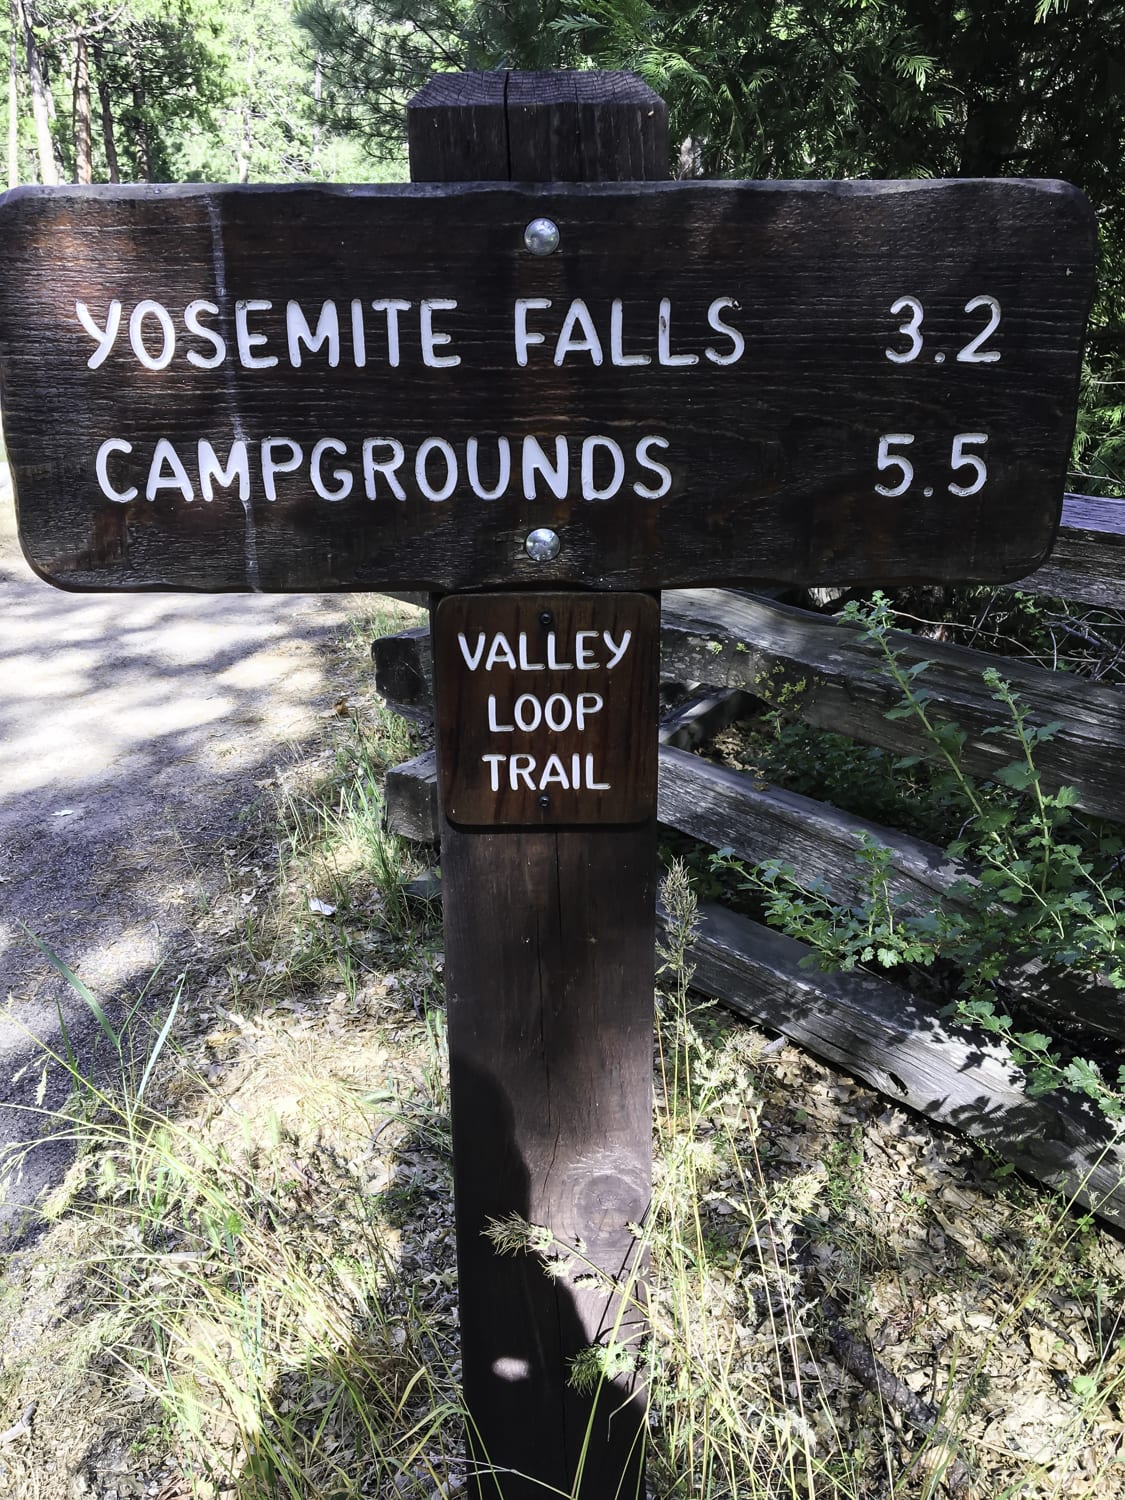
Mirror Lake
Leaving Yosemite Falls, signs for the Yosemite Valley Loop Trial pointed us towards Mirror Lake. The hike between Yosemite Falls and Mirror Lake was fairly quiet. We saw a few other folks hiking, but not nearly as many as were at Yosemite Falls.
This two and a half mile trail was fairly level, though rocky and with an incline in a few spots. We enjoyed some spectacular views along the way and stopped often to take pictures and marvel at the majesty of it all!

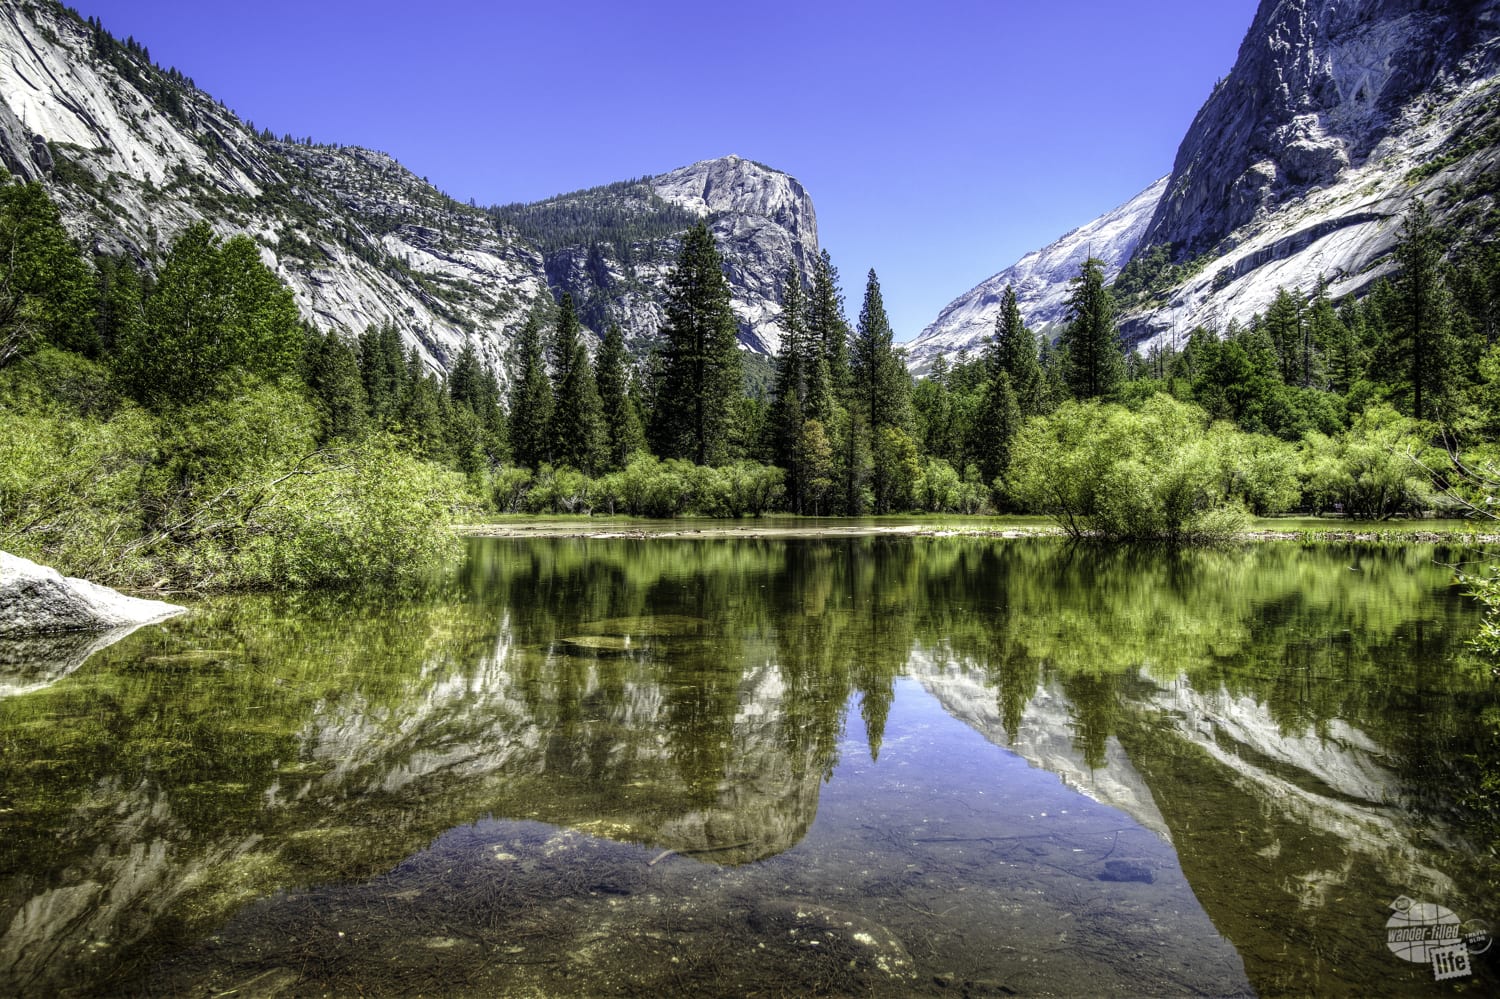
Mirror Lake is formed by the buildup of snowmelt in a meadow at the east end of Yosemite Valley. For that reason, it is a seasonal lake. Usually, by mid-late summer the water dries up and you would be hiking to just a meadow. We are thankful that we didn’t have to worry about that this year!
Our arrival at Mirror Lake was followed by lots of picture-taking! We really did get some great reflections off the lake, which made for some nice pictures. Interestingly, the reflections were harder to see with the naked eye than they were on the camera.
After a short break for lunch, we continued on our way.
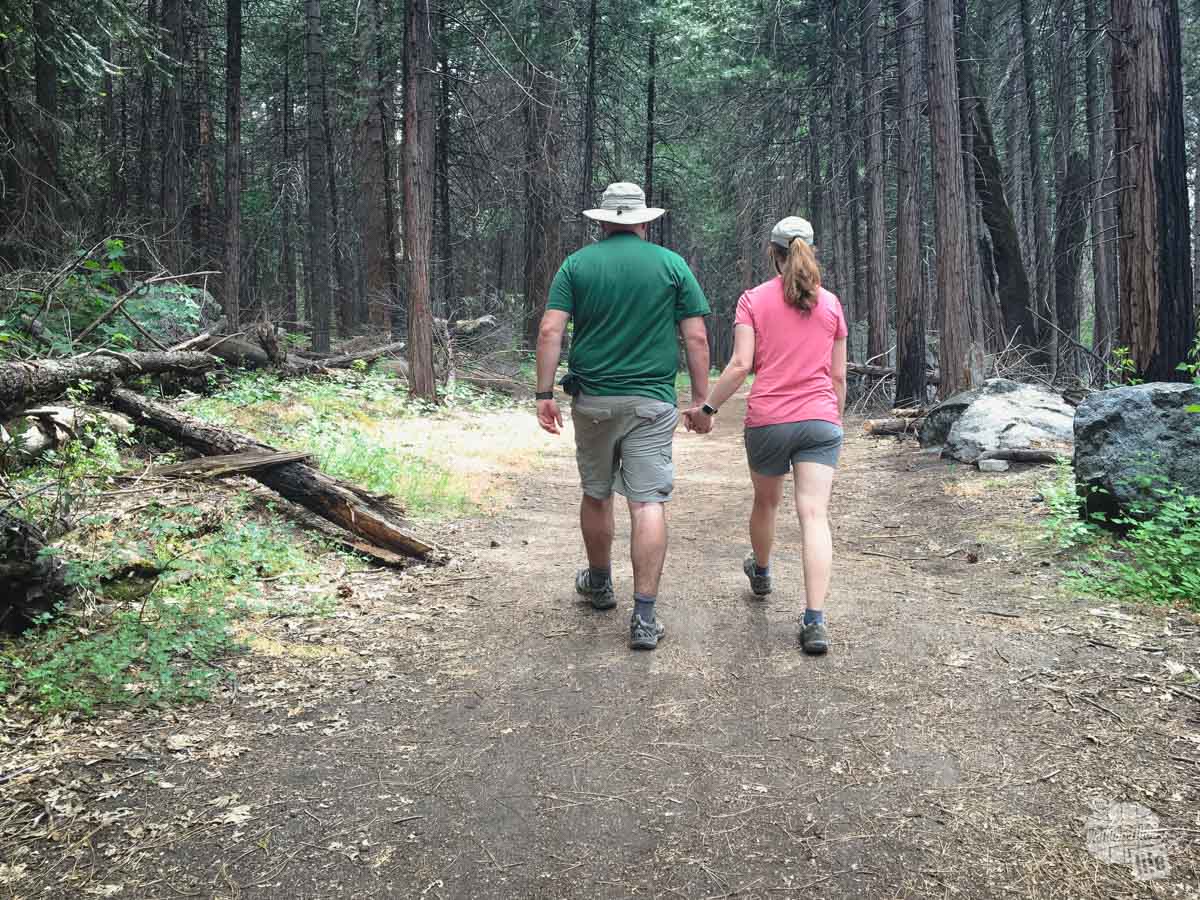
Over the River and Through the Woods
From the northwest side of Mirror Lake, we continued to follow the Yosemite Valley Loop Trail signs through the woods. The trail was easy to follow and there were still a good number of folks coming and going in both directions. As we crossed the bridge at Tenaya Creek, some folks ahead of us said that had just seen a bear.
When I first looked through the woods where they were pointing, I saw something moving. Unfortunately, I really couldn’t tell what it was though. I believe that it was a bear… I just can’t really count it as a bear sighting myself. We stayed with a few other folks trying to spot the bear for a while, then finally gave up and kept moving.
Through the River
Soon we started to hear word that we would have to cross an area where the river flooded the trail. While we knew that would be a bit of an ordeal, we were ready for the adventure!
When we got to the water, we decided (like many others) that we would take our shoes off. At this point, we were still not quite at the half-way mark of our hike and we knew we didn’t want wet shoes for another 7-8 miles.

So, we took off our shoes and socks and stepped in. AAAHHHHHHHHHHHH!!!!!!!! The first few seconds of cold water felt really good on our already tired and sore feet. The remaining several minutes of walking through snowmelt on very rough rocks were excruciating! If you could find some grass or sand that was better.
There ended up being several different water crossings, with dirt and gravel patches in between. Let me say, hiking without shoes is no fun, as you can imagine. Once we got across the last water crossing, we sat down, let our feet dry and warm-up and, then, put on our shoes and socks!
We continued on until we came to Mirror Lake again, this time on the east side of the lake. This side has a paved path, so it was much busier! Our hike suddenly wasn’t so tranquil anymore.
Where’s the Trail? Part 1 – Southside Drive
After emerging from Mirror Lake, things really started to get “fun.” At this point, it was difficult to figure out where the trail was, as there were no signs for the Yosemite Valley Loop Trail. I supposed that’s because the Valley Loop is sort of one big trail, but really it is a bunch of smaller trails hiked all together. We had to guess our way through a campground area, mostly just following a walking path near the road.
We eventually found the Yosemite Valley Loop Trail sign a little farther down. Thankfully, by this point, we were farther off the road, which provided a bit more solitude. Now, time to explore the other end of the valley. Our path took us basically parallel to one of the major entrance roads into the park – Southside Drive.
Some parts were close to the road, where we could easily see and hear the traffic. Other parts were farther off the road, providing some solitude. We saw a few other hikers and bikers, but not many.
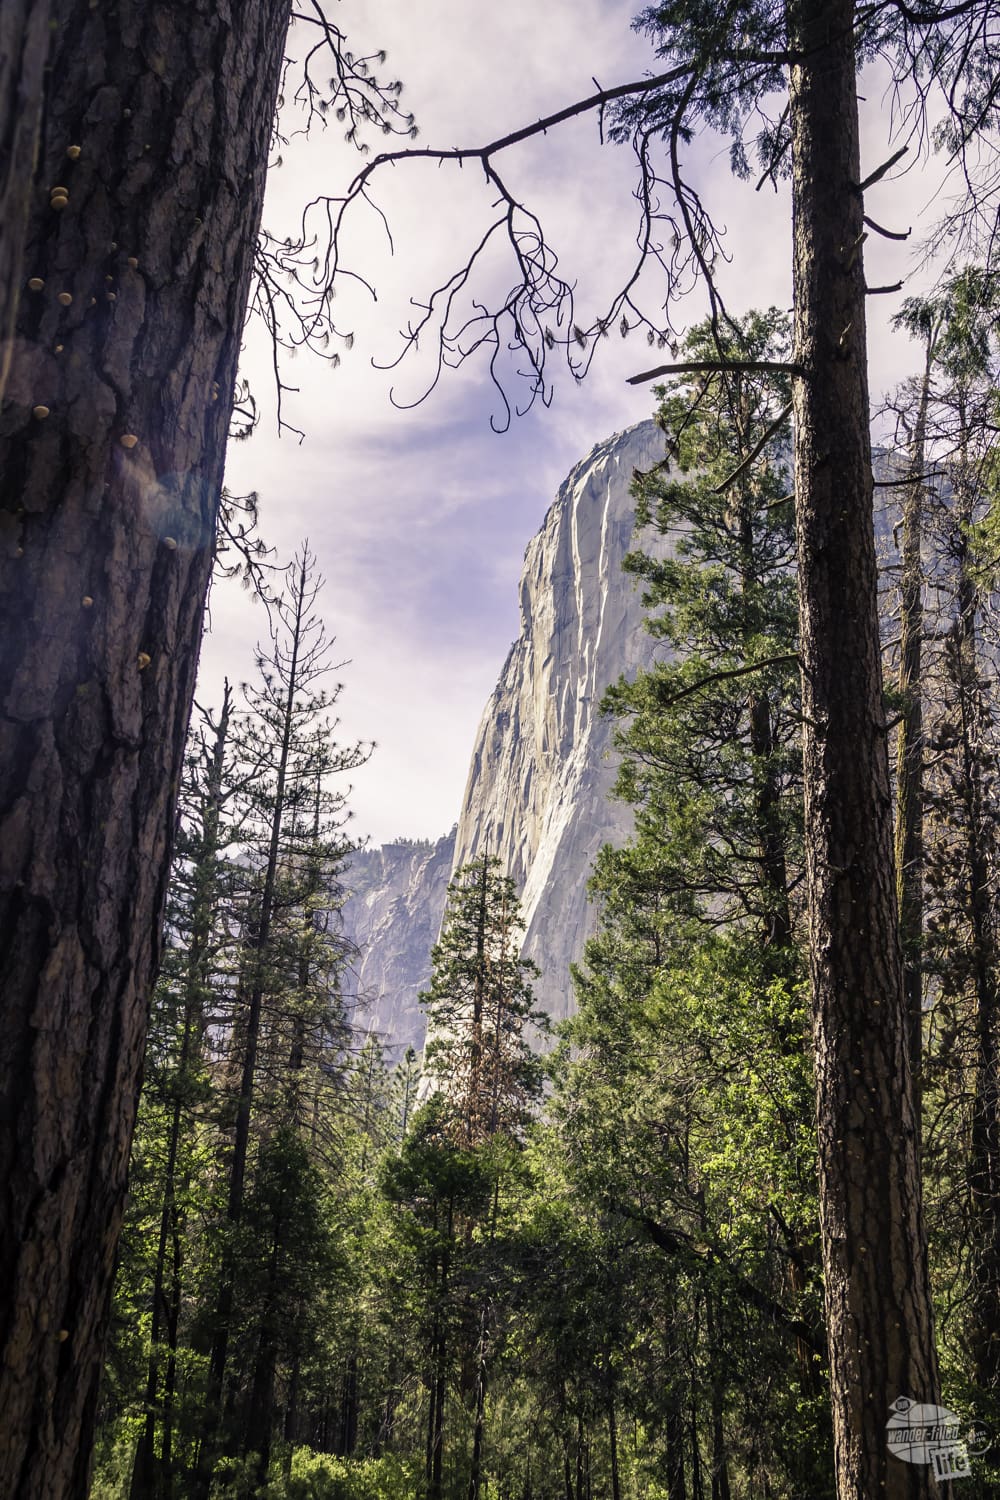
El Capitan
Our Yosemite Valley Loop trail signs directed us toward Bridalveil Falls and El Capitan, two magnificent views on the west end of Yosemite Valley. At this point, we started to realize that our 13-mile hike was going to be a bit longer and take us longer than 5-7 hours.
The time was especially frustrating for us since we typically move fairly fast when hiking. But with stopping for pictures, the water crossing and not having a path for a bit, it made sense that we were slower than average.
This is also when we started to ache. Everywhere. Feet, knees, hips, shoulders. Our amazing hike wasn’t so amazing anymore. But, we were determined to finish it. Aches and all.
We did decide to skip Bridalveil Fall and crossed to start heading east at El Capitan bridge. Note: We did go to Bridalveil Fall later in our trip and it is spectacular, so make sure you do it either on the hike or just drive to it.
While there are a few waterfalls on this end of Yosemite Valley, El Capitan really is the highlight here. We stopped for a moment on the bridge to marvel at the sight of this almost vertical cliff. And to look for climbers.
We didn’t have our binoculars, but we could still spot a couple of haul bags or maybe tents that make it easier to spot the climbers. It’s interesting to watch, but I certainly have no desire to ever do any climbing of that nature.
Where’s the Trail? Part 2 – Northside Drive
After crossing El Capitan Bridge, we followed along Northside Drive (a one-way road out of the park). The trail follows alongside the Merced River – the main river through Yosemite Valley.
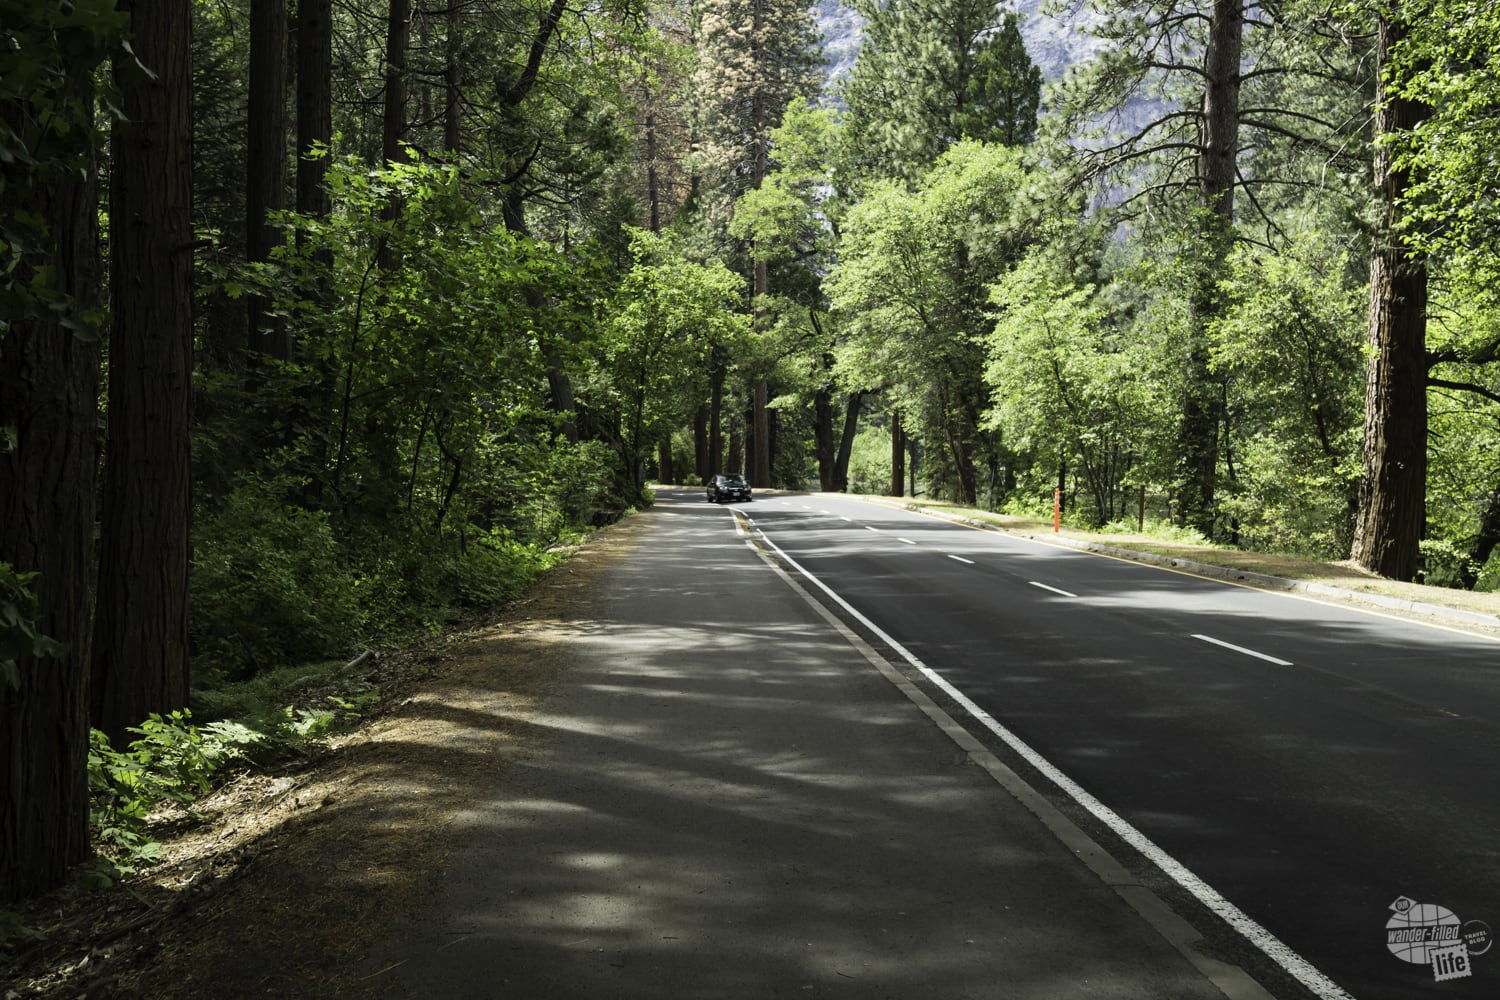
It would have been a great path if the Merced wasn’t hovering around flood stage and taking up way more space than normal. Parts of the trail were accessible, but much of it was flooded. This pushed us up to the road, walking either on the shoulder or just off the shoulder for at least a mile or two.
We finally were able to join the trail on the opposite side of the road from the river around Camp 4. This is a campground that is popular with climbers. It is no-frills and six tents share the rather large campsites. It is inexpensive, though, so it is generally full.
Finishing the Yosemite Valley Loop Trail
After walking through Camp 4, we continued along the path until we finally made it back to Yosemite Falls. This part of the hike was pleasant, other than the tremendous aches and pains we had all over.
We opted to NOT walk back to the Falls since we had seen them many times throughout the hike. Instead, we navigated the not-very-well-marked paved paths at least another half-mile back to the parking lot and the truck.
Hiking 101 – Don’t Make Rookie Mistakes
We definitely made some rookie mistakes with this hike. That is really frustrating since we are not rookie hikers. I guess we are just out of practice since it’s been about a year since we did a lot of hiking.
First, talk to a park ranger and make sure you know exactly where this trail goes. I did talk to someone but not the right someone and I didn’t ask the right questions. I blame myself for this.
Second, understand the trail map. This hike is listed with the trail descriptions, but not really identified on the map. We thought we knew where to go, but somewhere something went wrong. We ended up hiking about 17.5 miles, considerably more than the 13 miles advertised. And we skipped the Bridalveil Fall portion.
Third, if you are told parts of the trail might be flooded, ask specifics. The Yosemite Conservancy member told us getting around the flooded portions should be easy. I did not realize that meant walking on the road. There is nothing we hate more on a hike than walking on the road. That is not hiking.
Fourth, make sure you have plenty of food and water. I really thought that I had enough, but I also was preparing for about six hours, not nine hours, of hiking. We both ran out of water in our three-liter Camelbaks by the end of the trip. Thankfully, it was not super hot and we didn’t run out until close to the end but it was frustrating nonetheless.
Final Thoughts on the Yosemite Valley Loop Trail
The east end, from Yosemite Falls, to and around Mirror Lake was amazing. I would definitely suggest you do this part. Depending on where you park and if you take the shuttle, it would probably be seven or eight miles. This truly was the best part of our hike, even with walking through painfully cold water for a portion. Note: Mirror Lake can also be done as a fairly easy out and back (about two miles) or you can do a loop around the lake (about five miles).
The west end of the Yosemite Valley Loop Trail was much flatter and easier, though none of it was difficult. The views on this end weren’t as good though. And, where water flooded the path, we were walking on the road – never the best conditions.
Overall, this was a good hike. It was just a bit frustrating for us. More questioning at the beginning would have prepared us better. We had shade during the vast majority of the hike, especially the west end near El Capitan. Near Yosemite Falls and Mirror Lake there were a few unshaded portions but it was never more than just a few minutes.

Whatever you do in Yosemite, be sure to get out and do some hiking. There are MANY amazing hikes and the average person can do. Yes, there are plenty of strenuous hikes with huge elevation changes, rock climbing or overnight camping involved. But there are also plenty that will only take you a few hours.
Getting off the beaten path and finding solitude in one of the most visited National Parks truly is a wonderful feeling.
Be sure to check out Grant’s article on our overall visit to Yosemite NP.
Travel Resources
What do you use to find a flight?
We use Skyscanner to find deals on flights. Skyscanner has a great interface and compares tons of airlines for the best pricing and routing. That said, it does not always have every airline and some airlines will have better deals on their website. Still, Skyscanner is a great place to start.
Click here to search for a flight.
What do you use to find a hotel?
We typically stay at Hilton properties, so we use the Hilton website. You can find good Hilton Honors discounts or AAA discounts for a hotel there. We make great use of our free night certificates from our Hilton Honors American Express.
Click here to book a Hilton property.
If there are no Hilton properties available, we use TripAdvisor to read reviews and book the hotel. We find we can get the best price that way.
Click here to search for a hotel.
We recently partnered with Stay22 to add interactive maps to each of our destination posts. This will allow you to see a plethora of hotels and vacation rentals all in one responsive map of the area.
What if I need more space than I can get at a hotel?
We use Vrbo for the times when we have rented a cabin for a weekend getaway, like this cabin in Townsend, TN, or needed to rent a house for a large family vacation. We had a great experience with them in terms of refunding deposits when COVID hit and will continue to use them.
Click here to search for a vacation rental.
Who do you use for rental cars?
As a general rule, we book with Hertz for rental cars. We have had nothing but good experiences with them. Plus, we really like unlimited mileage and not worrying about crossing state lines. We have even rented from Hertz overseas in both Slovenia and Croatia.
Click here to book a rental car.
How about booking a cruise?
We have found some amazing prices for booking a cruise through Cruise Direct. We have saved a lot of money on our cruises compared to what we found elsewhere, making a last-minute Bahamas cruise even cheaper.
Click here to book a cruise.
What if I want to rent an RV?
We highly recommend Outdoorsy for RV rentals. We rented a camper van for a week to visit Rocky Mountain National Park for the elk rut and Custer State Park for the Buffalo Round-Up and had a blast. The program was easy to use and we really enjoyed the freedom of having a camper van for that trip.
Click here to rent an RV.
What do you use for booking tours?
We don’t often book tours. Typically, we like to do stuff on our own. That said, there are some experiences you can’t have any other way. So, when we do want to book a tour, we always check Viator first.
Click here to book a tour.
Do you use anything to get discounts on the road?
We make extensive use of both Good Sam and AAA on the road. Good Sam is normally regarded as a discount card for RVers at campgrounds and Camping World but anyone can use the 5 cents off a gallon at the pump at both Pilot and Flying J.
Click here to get a Good Sam membership.
We have had AAA as long as we have been married and it has more than paid for itself in discounts at hotels, aside from the peace of mind of having roadside assistance. Add in paper maps and the ability to get an international driver’s license and it is more than worth it for any traveler out there.
Click here to get a AAA membership.
Fantastic review, thanks for the tips! I hope to do this hike one day 🙂
Thank you! Despite the missteps, we loved the views and it is relatively easy.